EXAM QUESTION:
Disguise-
Inge Morath collaborated with the artist Saul Steinberg to produce a series of photographs in a book called 'Masquerade'. These were based on people wearing masks which has facial expressions drawn on them. Richard Burbridge has produced portraits for fashion magazines in which the model wears a surreal mask, often made from found materials. Photo manipulation using digital software can be used to alter features or add to a persons appearance or identity.
Investigate relevant sources and create your own portraits which disguise or add to the appearance of the sitter.
Disguise-
1) To give (someone or oneself) a different appearance in order to conceal one's identity.
2) A means of altering one's appearance to conceal one's identity.
1) To give (someone or oneself) a different appearance in order to conceal one's identity.
2) A means of altering one's appearance to conceal one's identity.
Inge Morath & Saul Steinberg 'Masquerade project'.
Inge Morath was born May 27, 1923 in Graz, Austria. Her field of work was photography. But, she died January 30, 2002 in New York City, USA. She became a full time photographer for Magnum Photos Agency in 1955.
Saul Erik Steinberg was born June 15, 1914 in Ramnicu Sarat, Romania. But died May 12, 1999 in New York. His field of work was a cartoonist.
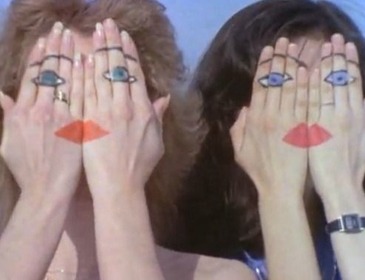
Together, they created a project in which they called 'Masquerade'. Saul Steinberg drew cartoon faces on paper bags and Inge Morath captured the moments!
Saul Erik Steinberg was born June 15, 1914 in Ramnicu Sarat, Romania. But died May 12, 1999 in New York. His field of work was a cartoonist.
Together, they created a project in which they called 'Masquerade'. Saul Steinberg drew cartoon faces on paper bags and Inge Morath captured the moments!
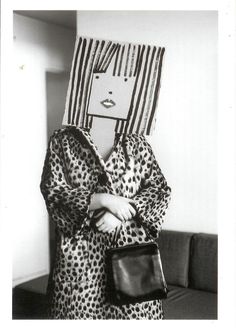
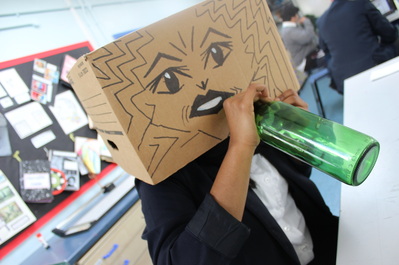
The cardboard mask in this image works well with the black and white effect used. The mask covers the face, a face which could be male or female! The way in which the person is stood directly in the middle of the shot shows their importance within the photo.
I would like to try something quite like this as it looks eye catching even though there is not much to it.
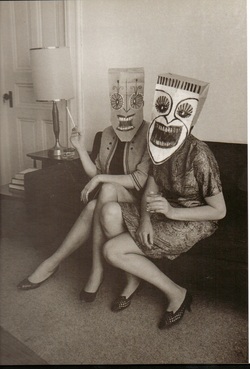
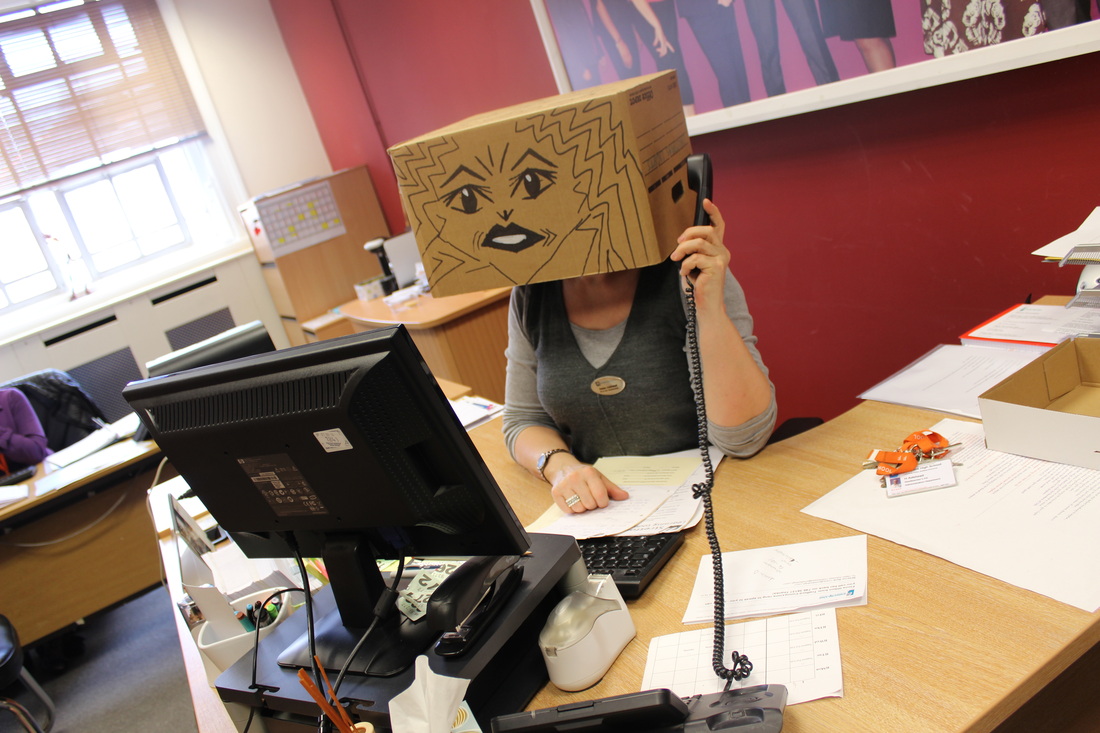
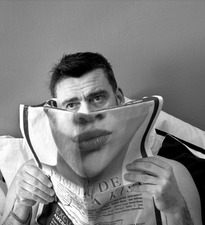
I love the simplicity of this image. From the first glance it just looks like the two women are together having a 'mothers meeting'. But, the random masks soon pop out and make you wonder 'What is under there and why are you hiding from the world?'. Could it be men in disguise, old women rein-acting their younger days or plainly just two women having a gossip.
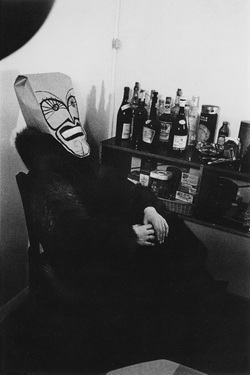
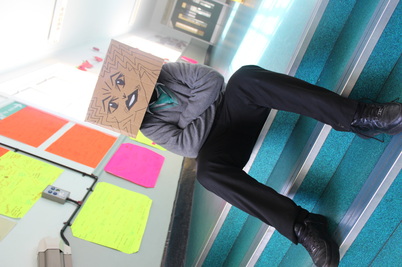
I like the way in which the photographer has taken this image with the mask on a power spot. The lighting in the image captures the shadows of the bottles very well. All of the bottles in the background makes you consider what the persons life is like. They may be depressed. I will do my own take of this photograph.
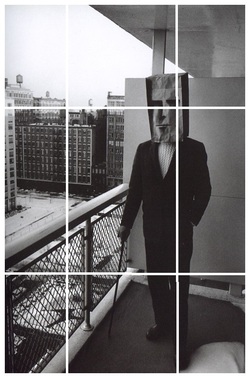
Here I have marked out where the photographer has cleverly taken this photograph with the man on a power spot.
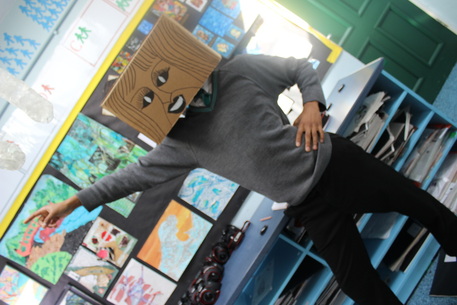
TAKE 1
Working in the style of Inge Morath and Saul Steinberg.
|
|
|

|
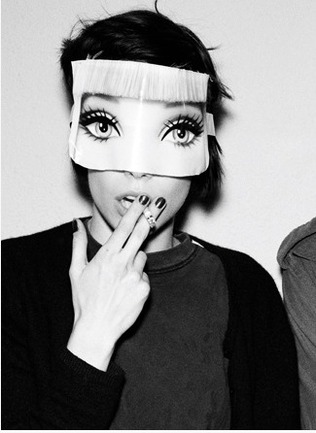
Richard Burbridge
Richard Burbridge is a british born photographer. His work has been featured in magazines such as Vogue Italia!
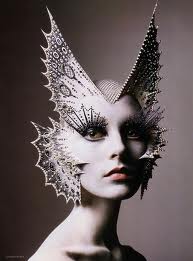
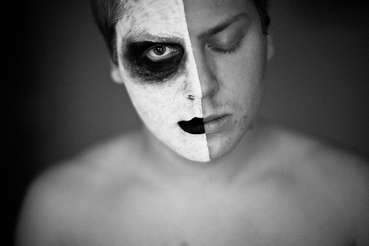
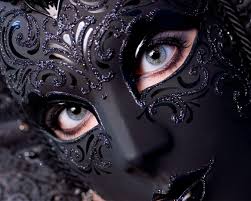
I love this style of disguise. It looks evil but has a strange elegance to it. Therefore, it could be absolutely anybody wearing it. The way in which the shadows are on the right side of the models face looks amazing. It could suggest a half bad half good individual. There is great detail within this image which makes it special.
This image looks very mysterious due to the chiaroscuro used, it works effectively with the uneasy mask. The way in which the models head is turned slightly to the side could suggest they are being sneaky by not looking face first. The image is in-between a mid-shot and a close up, this is good as it hasn't got anything irrelevant there to ruin the shot.
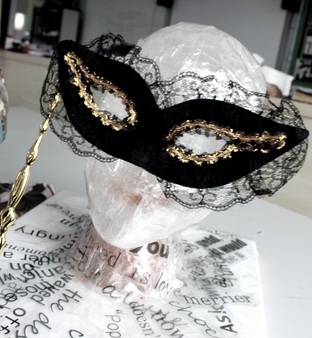
Masquerade Masks-
|
|
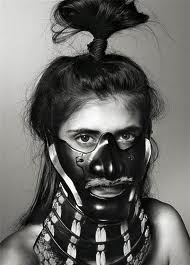
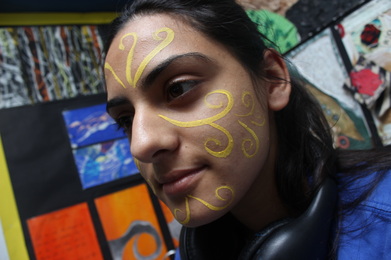
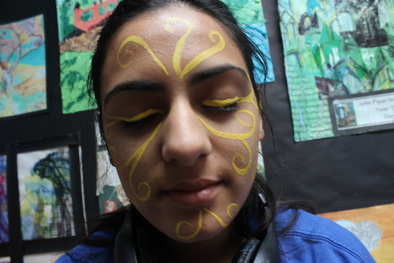
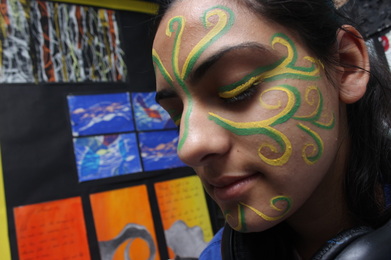
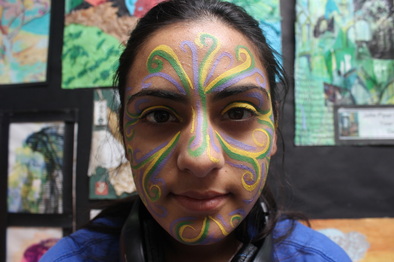
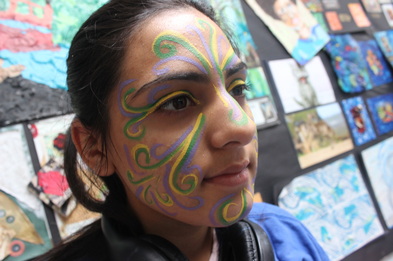
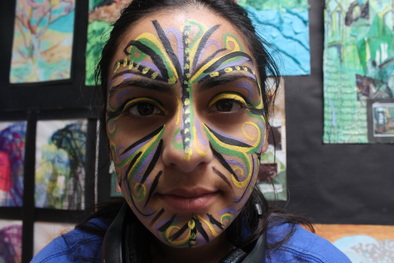
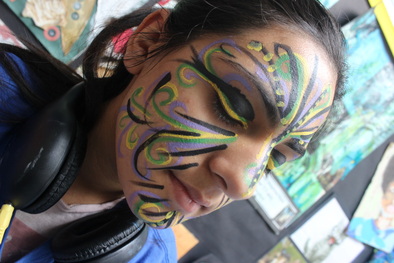
Face painting to create a masked face.
|
|
|
|
|
|
|
|
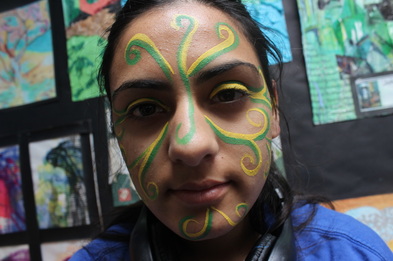
Face paint can be used as a type of disguise. It can make a person look very innocent or evil with the slightest bit of paint. As you can see her look completely changes once the black paint is added and she looks quite like a 'baddie'.
Make Up Artist-
They disguise a persons true face.
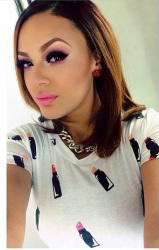
This is Kay-Lani , she is an amazing make up artist based in Orlando, Florida.
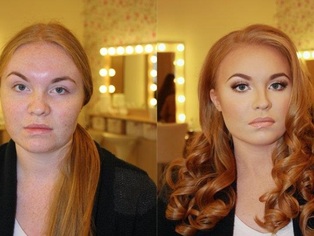
By using her make up skills she has the ability to change the look of a persons face as shown below...
By using her make up skills she has the ability to change the look of a persons face as shown below...

Highlighting and contouring can change the whole shape of a persons face and make everything look more defined. For example, by putting a darker foundation your cheekbones they look sharper. Along with this, darker foundation on the chin can make a persons face slimmer.
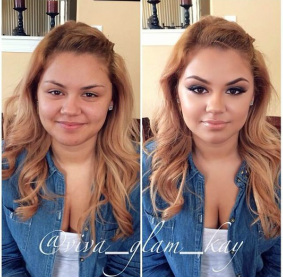
This image shows a transformation of what make up can do.
PLAN
Ideas!

|
|

Photoshop can be used in this project to combine images together. For example, on the picture of the owl and the tree above, it could have originally been 2 images which have eventually been joined.
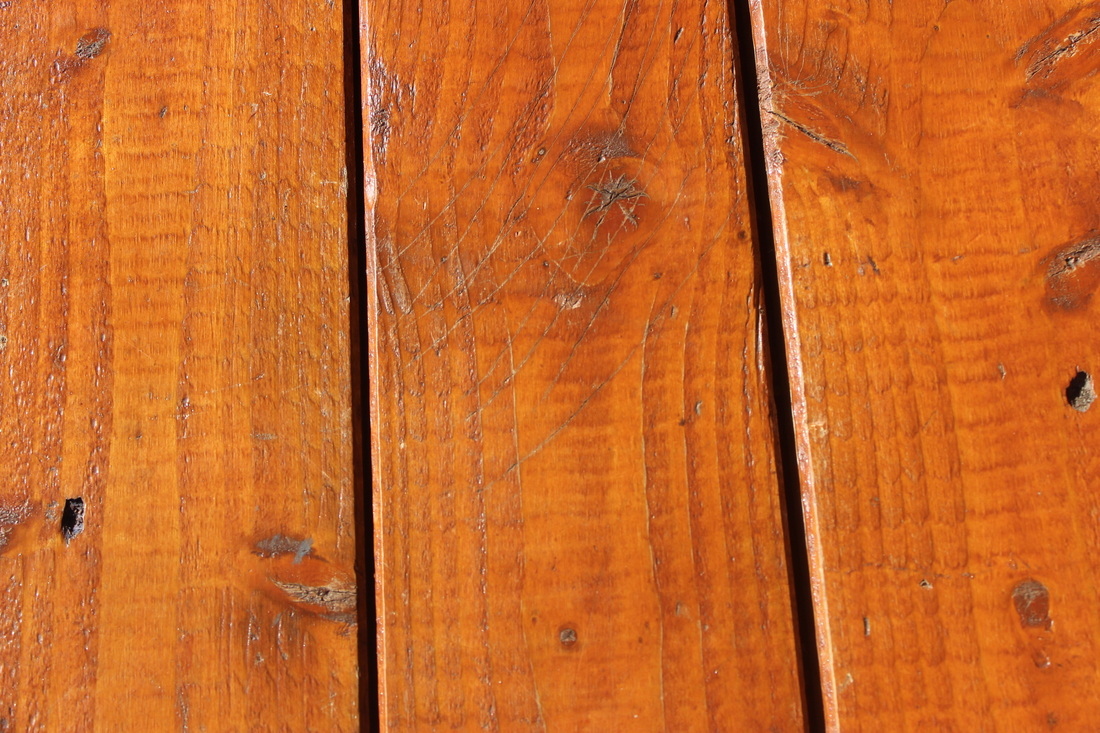
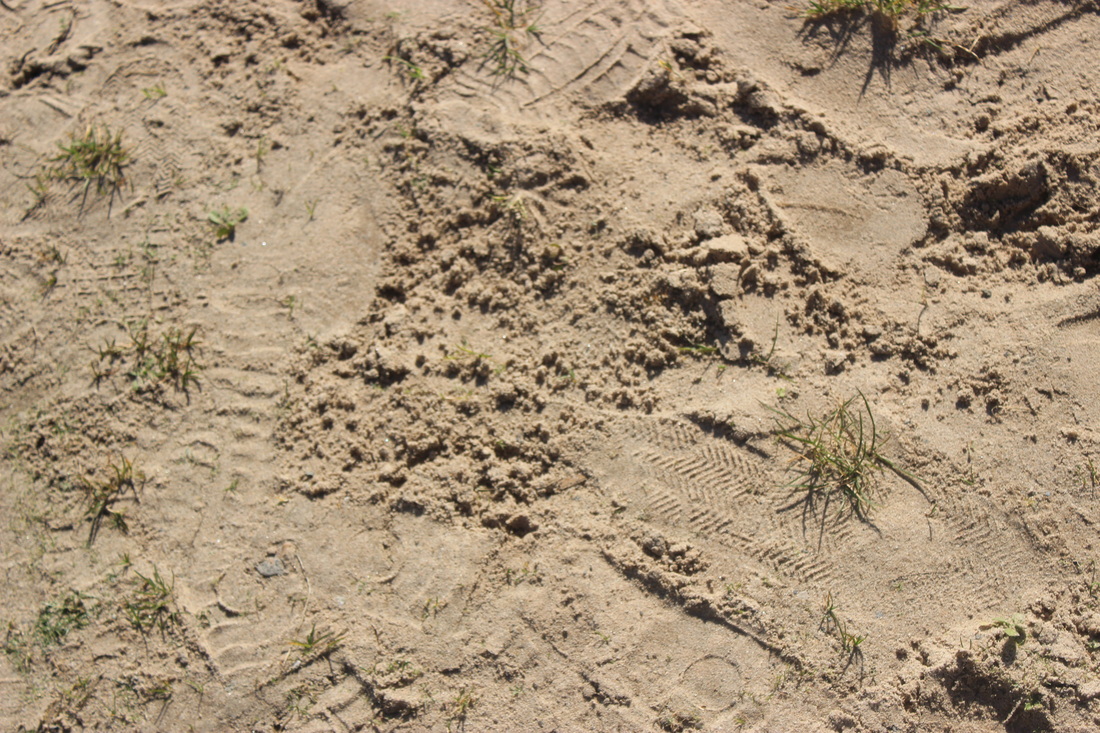
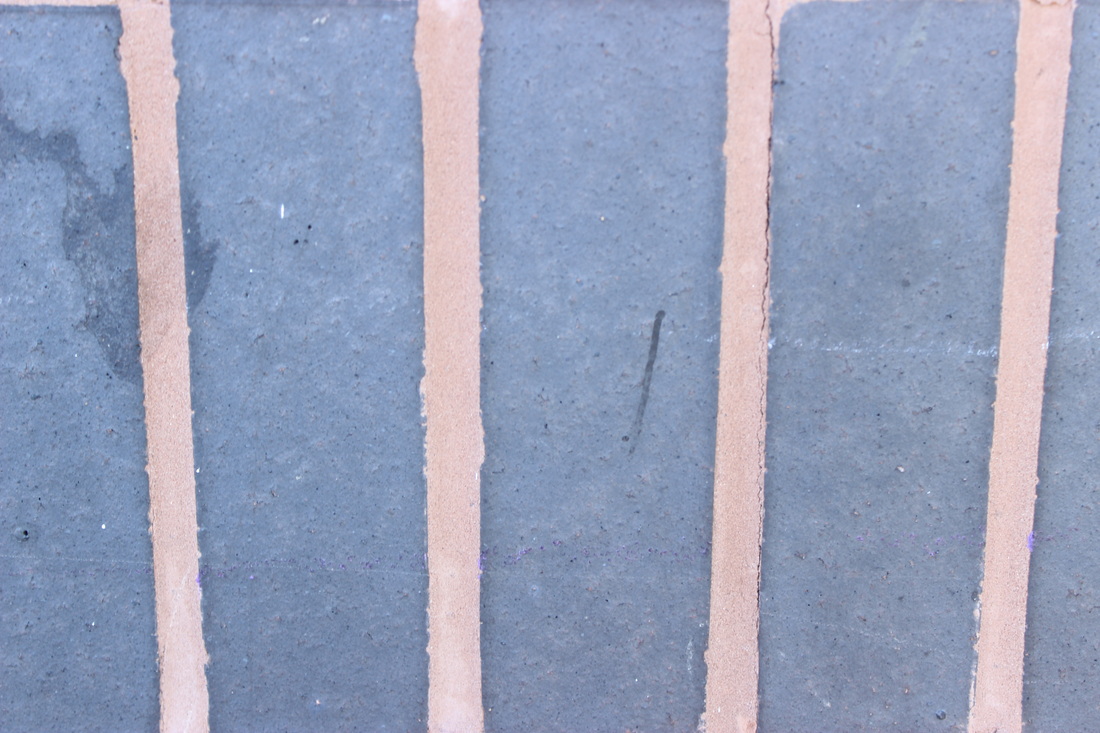
Texture and pattern which I can camouflage persons face with.
|
|
|
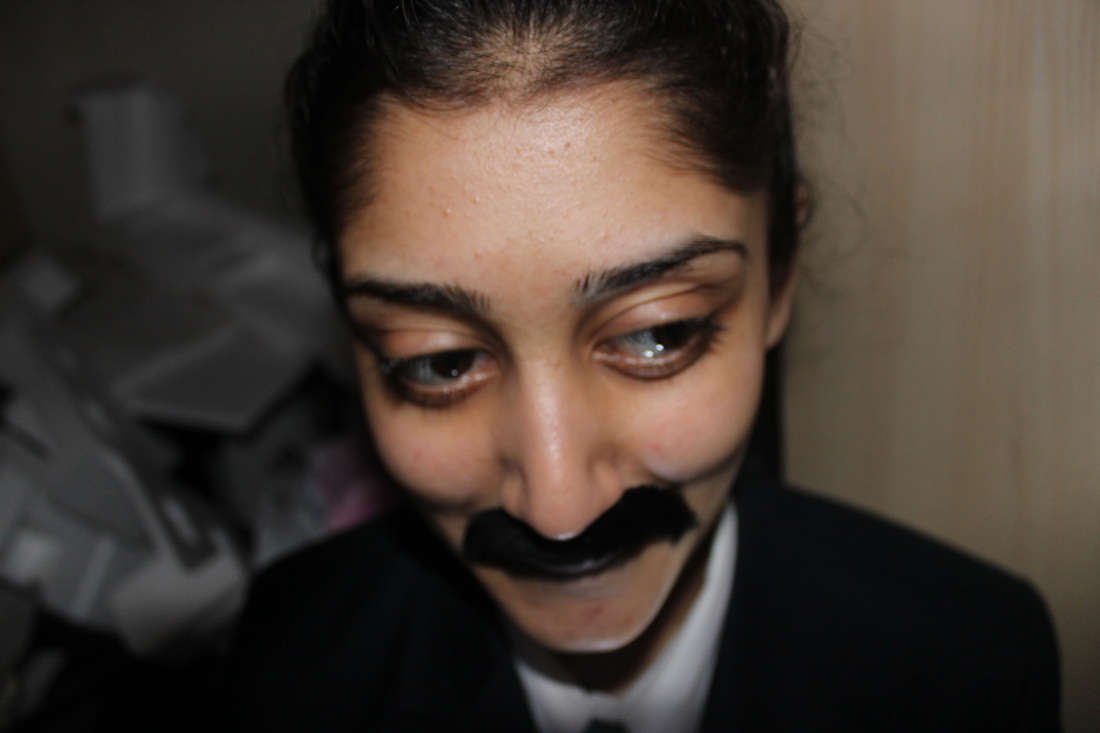
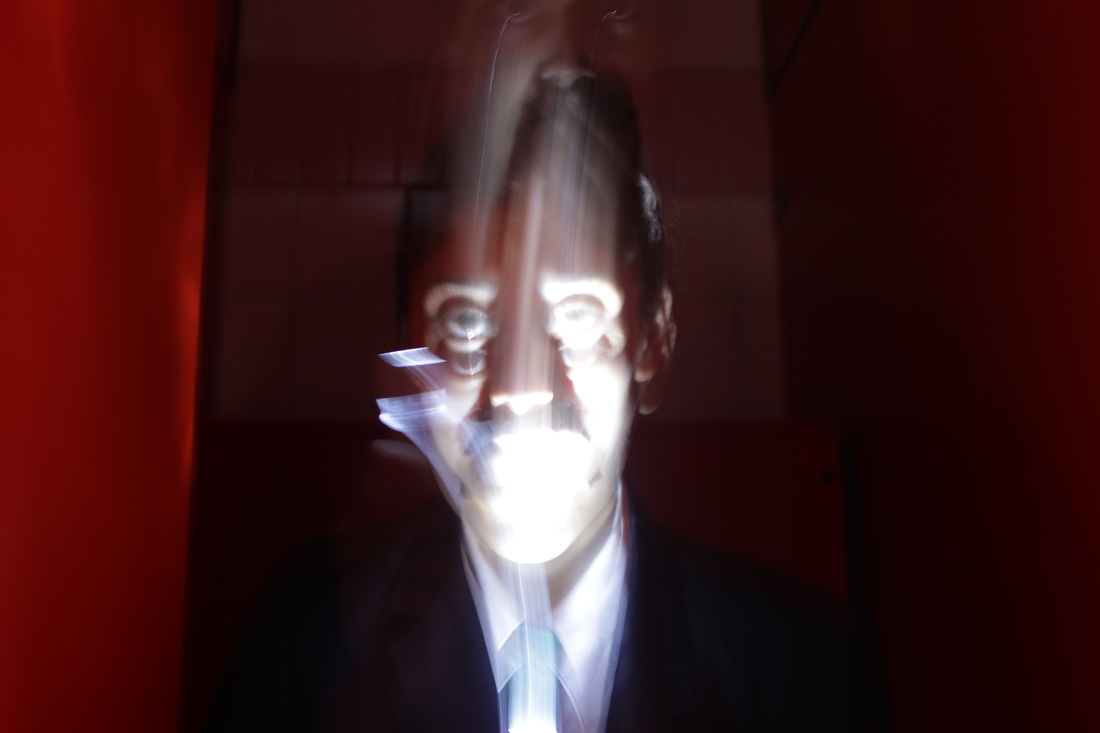
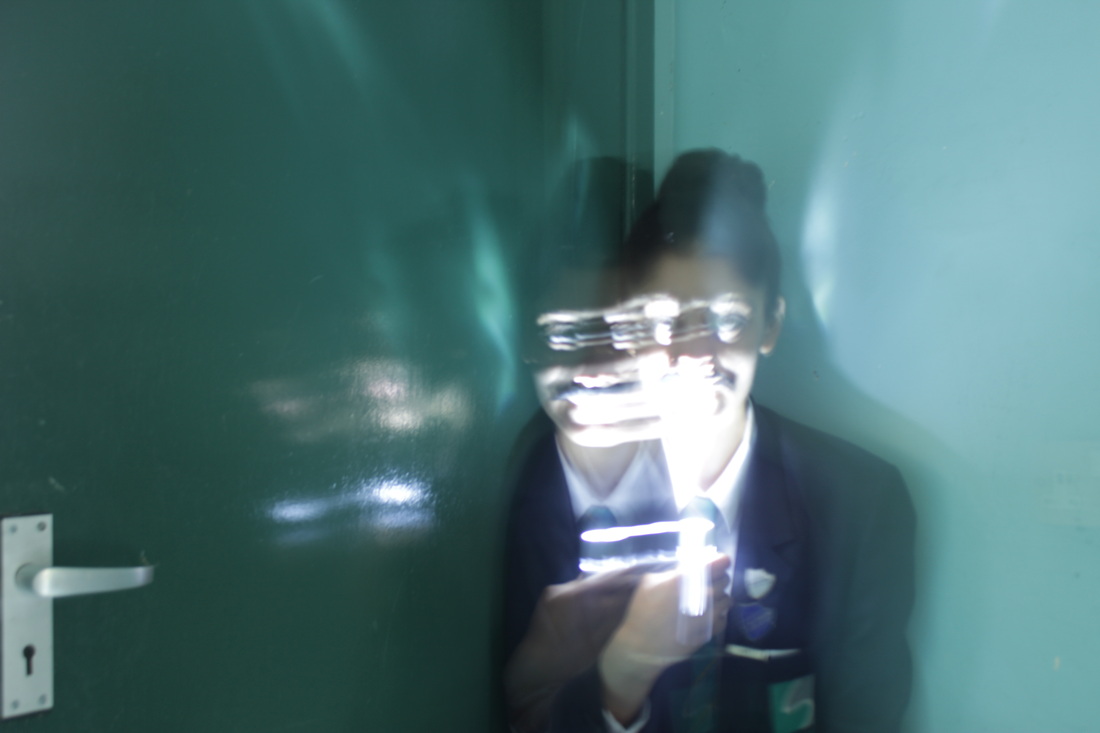
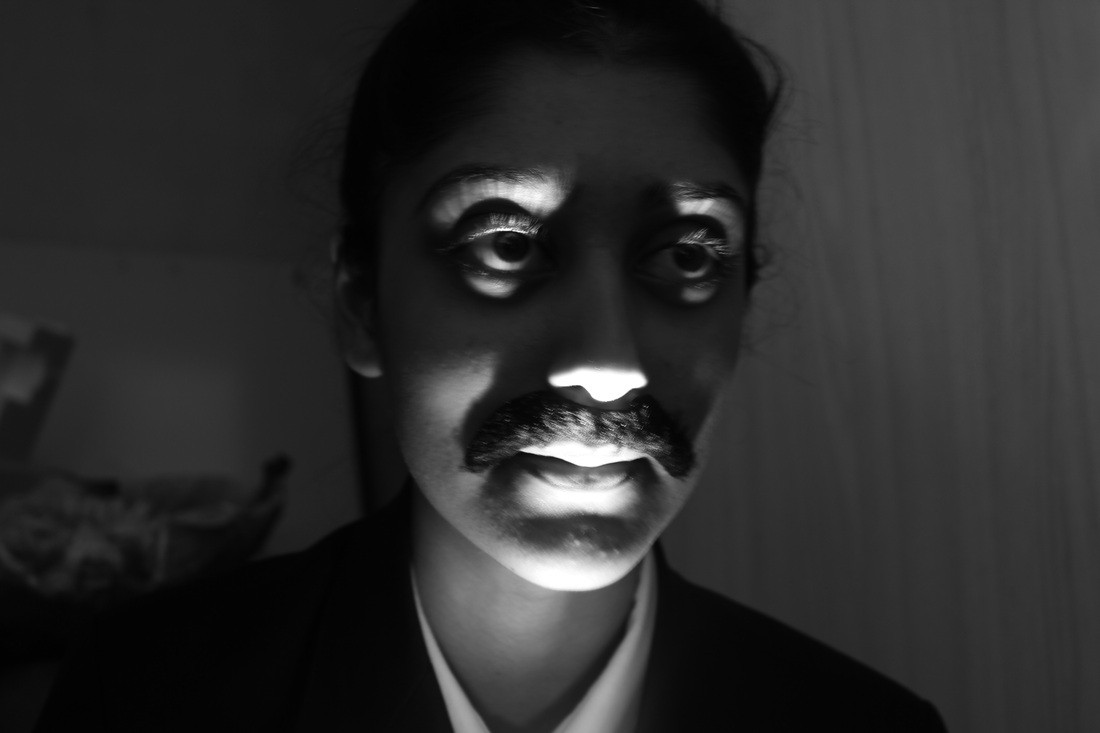
Practicing with mustaches and light!
|
|
|
|
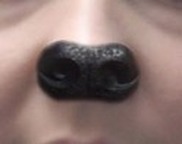
I decided to use a mustache as that is one of the most well known disguises. A mustache can turn a girl into a boy, or a boy into a man. A mustache can change the whole look or structure of a persons face, which is handy when you want to disguise yourself. Underneath her chin, I made Zakia hold a torch. This gives a spooky look once edited in a black and white effect. It enhances only certain features and leaves others in the dark. Also, we used the effect of light photography in on the images to see if we could create a unique look. The light photography makes her looks quite scary in the sense it looks like another one of her is jumping out of her body!
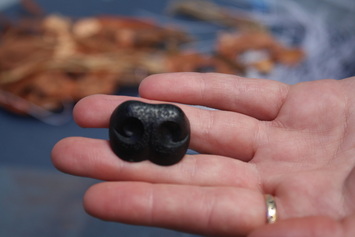
Teddy bear-human practice.
|
|

|
Here I was practicing for my final piece of the 'Doll'. I was seeing if I could actually add fake body parts to a human face and make it look realistic.
FINAL TAKE
|
|
|

|
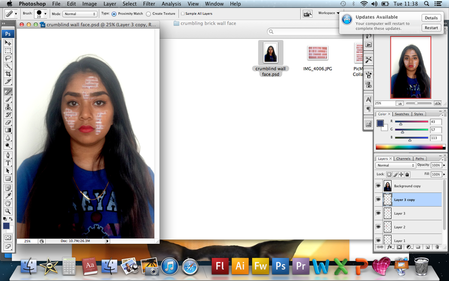
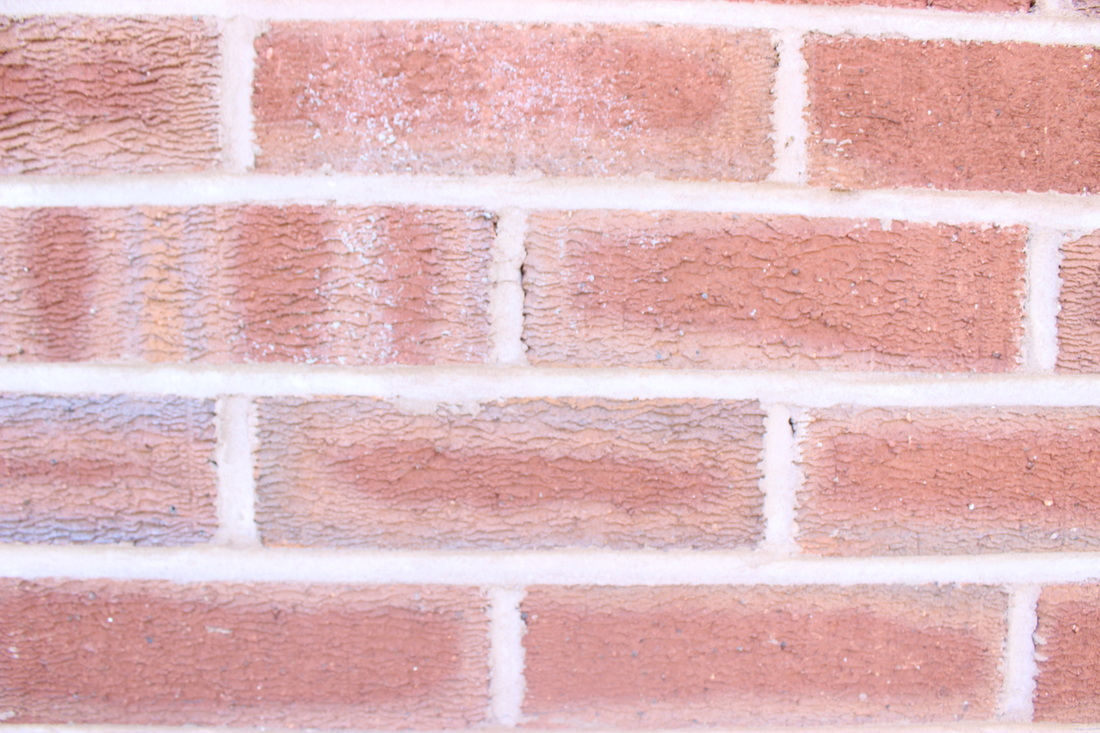
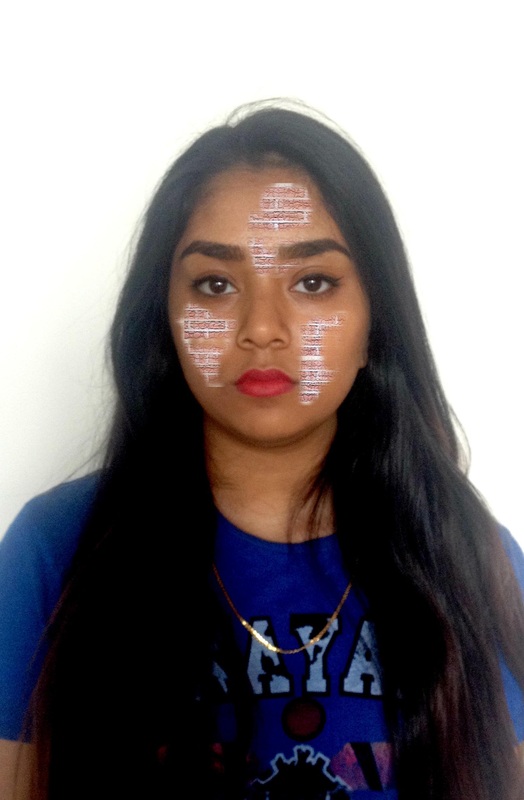
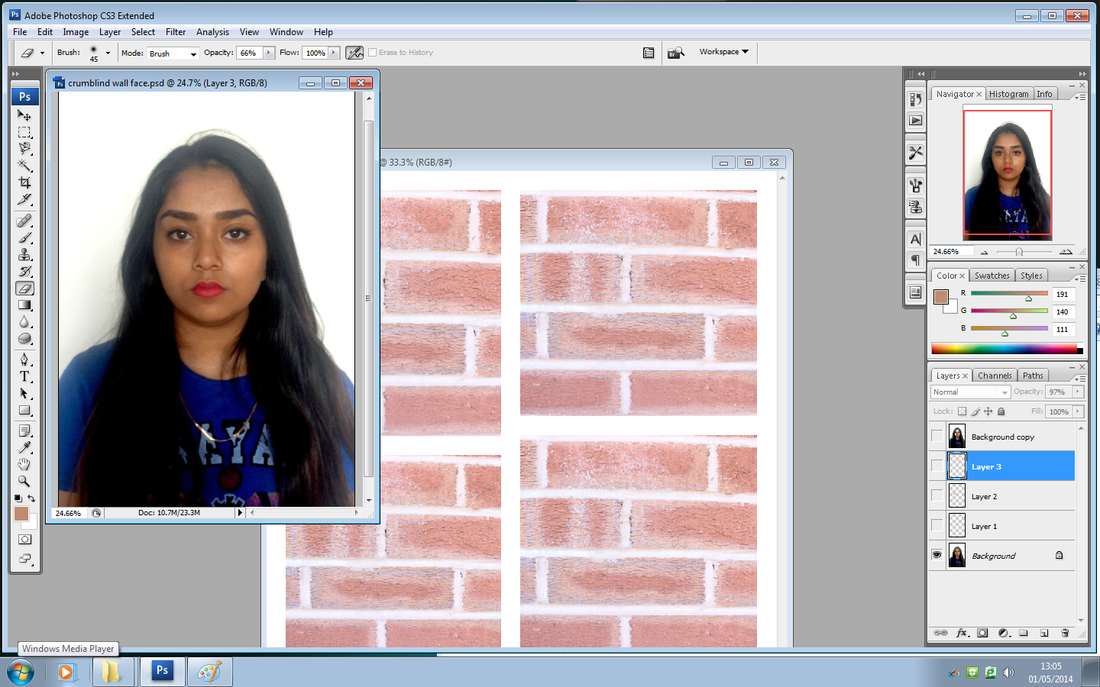
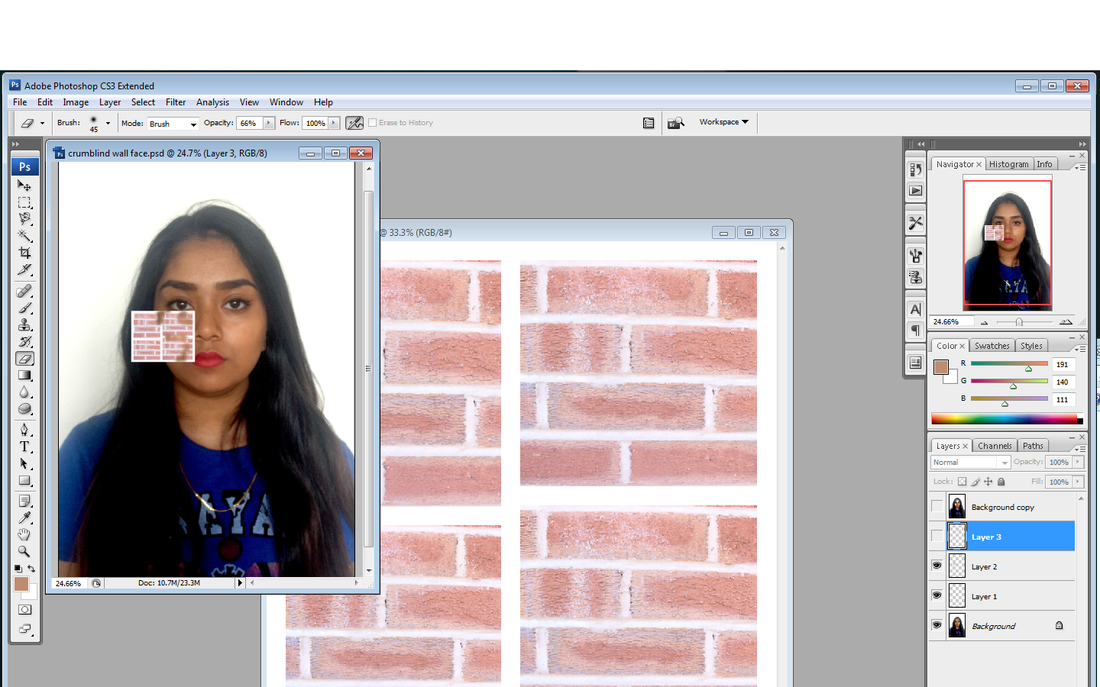
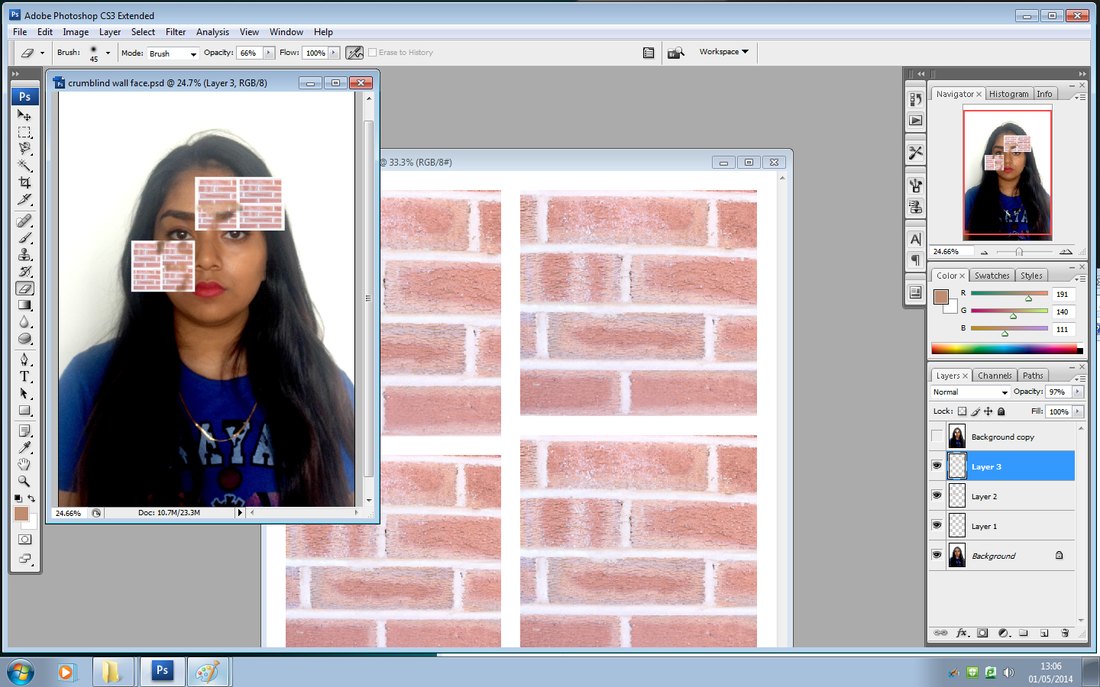
Here I had taken a picture of my friend in the inspiration room, in school. I also had taken pictures of different textures before hand, I decided to use a brick effect. This brick effect portrays the foundation or building blocks to an individuals personality, hiding in a disguise under the skin.
Firstly, I loaded the picture of my friend onto photo-shop and changed the contrast of the photograph. Secondly, I created a new layer to add the brick effect. This layer was copied 3 times to create patches in different spots of her face. So it looked more realistic, I faded the opacity slightly and blurred the edges to give it a more smoother look.
Firstly, I loaded the picture of my friend onto photo-shop and changed the contrast of the photograph. Secondly, I created a new layer to add the brick effect. This layer was copied 3 times to create patches in different spots of her face. So it looked more realistic, I faded the opacity slightly and blurred the edges to give it a more smoother look.
|
|
|

|
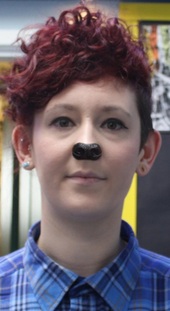
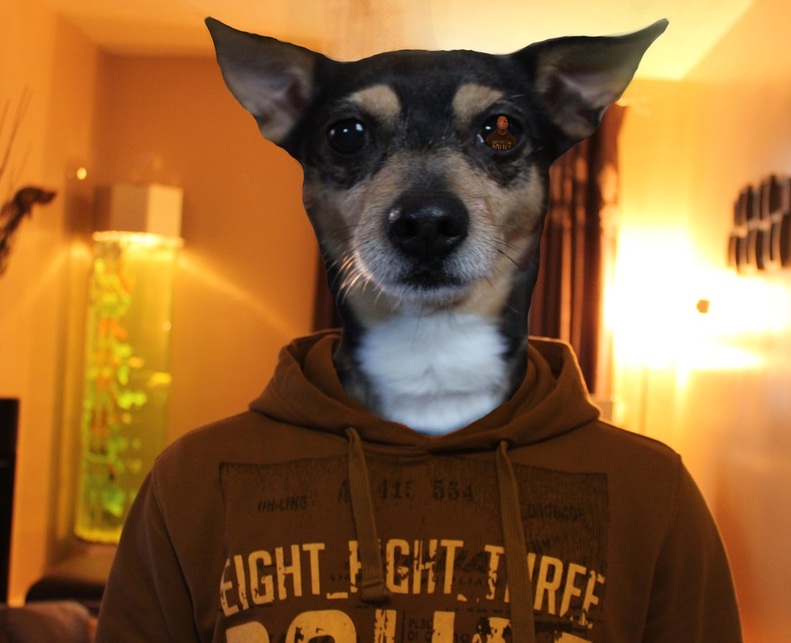
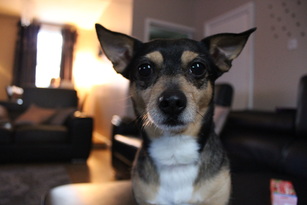
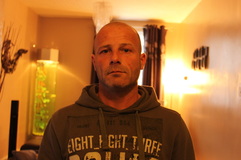
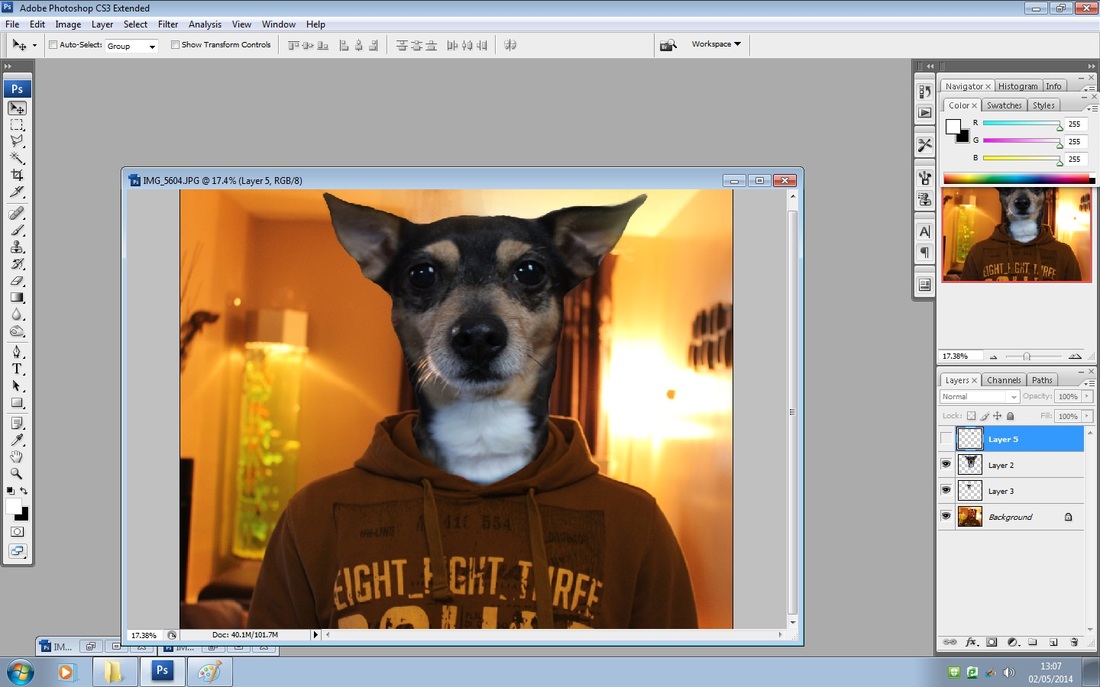
Here, I had taken a picture of my dad and my pet dog. When taking the picture of my dog I used sports mode on the camera, this was to reduce blur from movement. I wanted to give my project a fun factor, so I decided to make some sort of 'dog in disguise of a human'.
I uploaded the picture of my dad for the background onto photo-shop. After this, I uploaded the best picture of my dog onto a new layer. I carefully erased the edges to create a softer look. I used the clone tool to put some of the dogs fur overlapping the hoodie, to make it look more realistic. Then, I went onto copying the background and shrinking it into the right eye of my dog. I faded the opacity so part of the eye is visible.
I uploaded the picture of my dad for the background onto photo-shop. After this, I uploaded the best picture of my dog onto a new layer. I carefully erased the edges to create a softer look. I used the clone tool to put some of the dogs fur overlapping the hoodie, to make it look more realistic. Then, I went onto copying the background and shrinking it into the right eye of my dog. I faded the opacity so part of the eye is visible.
|
|
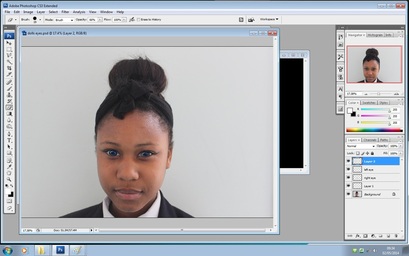
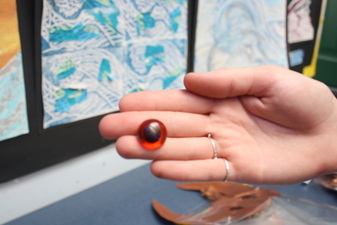
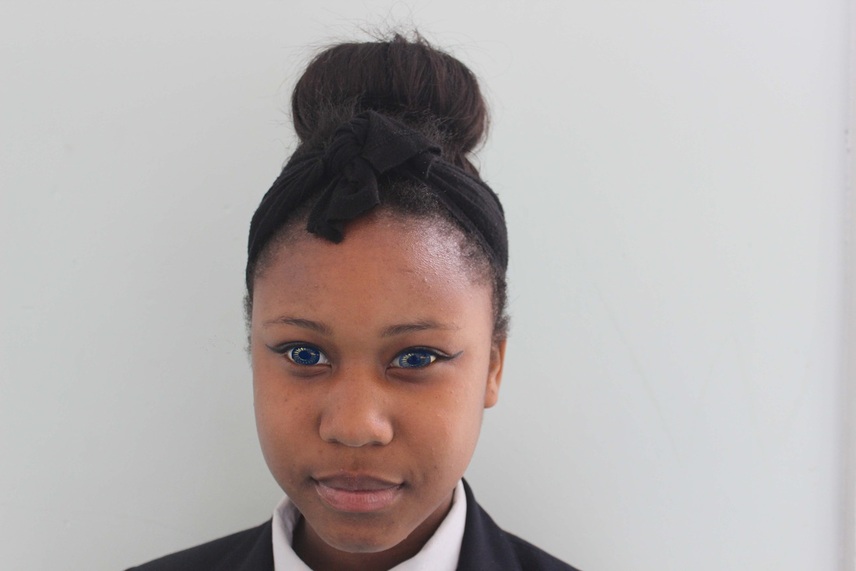
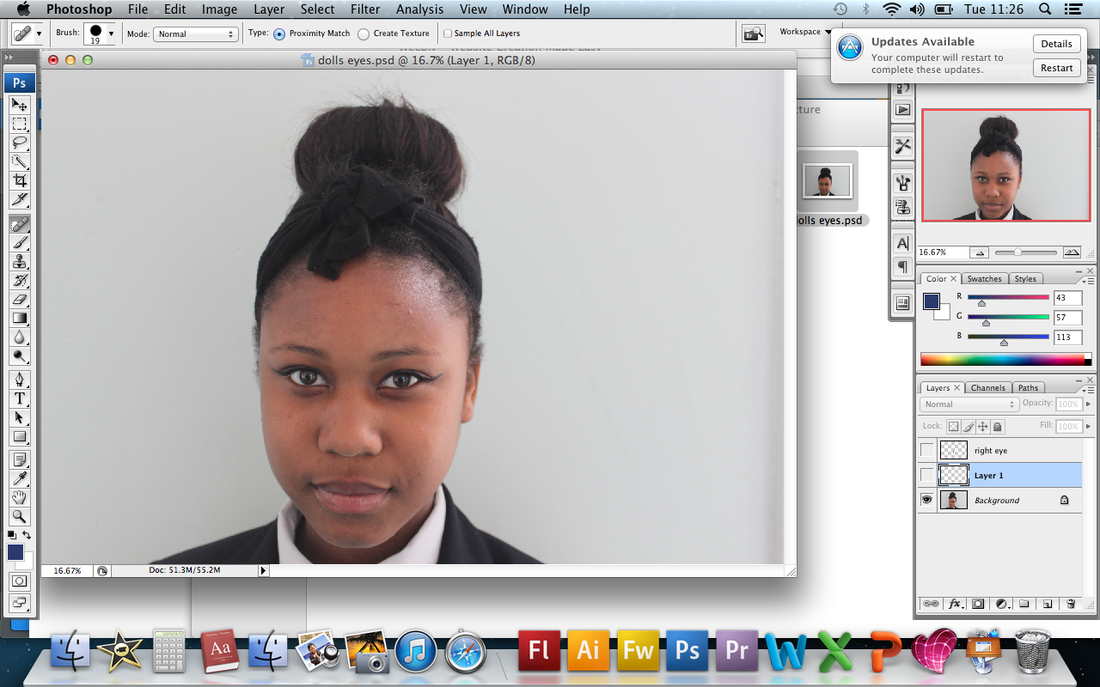
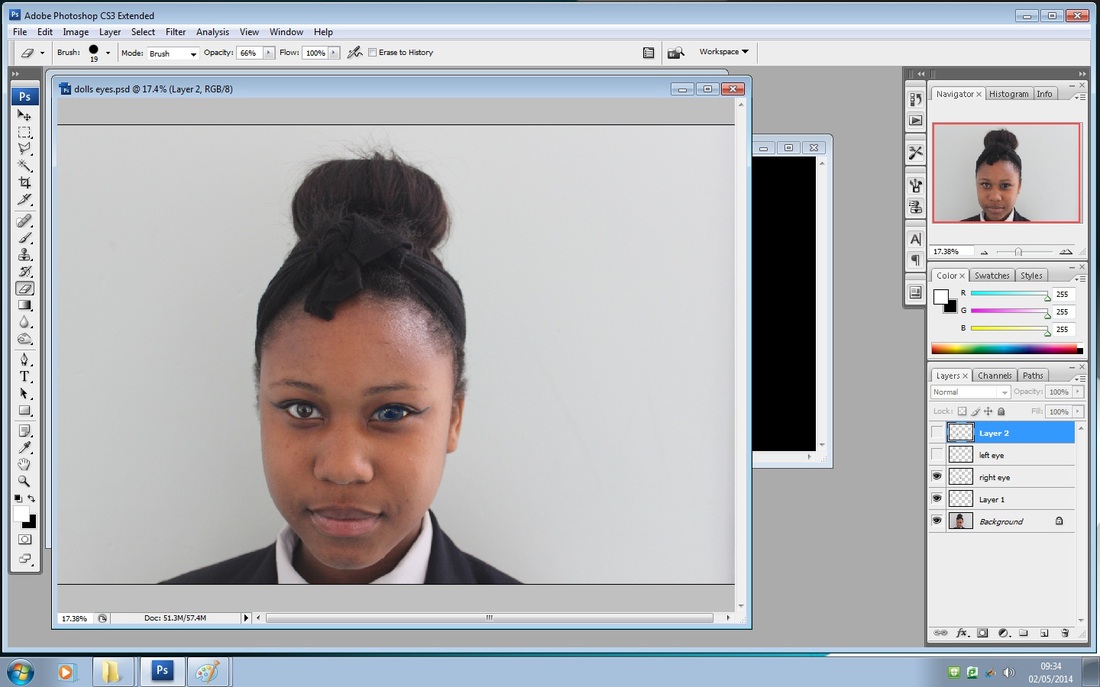
Here I have taken a picture of student who attends my school. Due to not having no dolls available, I had to get the picture of the dolls eye of the internet. This photograph is a doll in disguise of a human.
Firstly, I uploaded the picture of Shupi onto photo-shop. Secondly, I added a new layer to add on the eyes. I used the cutting tool to cut of the background of the eyes as I only wanted them present on my picture. I copied this layer as there was only one eye which looked good, the other did not match how her head was turned. To make the eyes look more realistic I erased some of the dolls eye which was overlapping with Shupi's eye.
Firstly, I uploaded the picture of Shupi onto photo-shop. Secondly, I added a new layer to add on the eyes. I used the cutting tool to cut of the background of the eyes as I only wanted them present on my picture. I copied this layer as there was only one eye which looked good, the other did not match how her head was turned. To make the eyes look more realistic I erased some of the dolls eye which was overlapping with Shupi's eye.
|

|
|
|
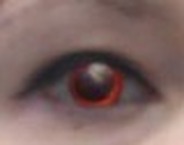
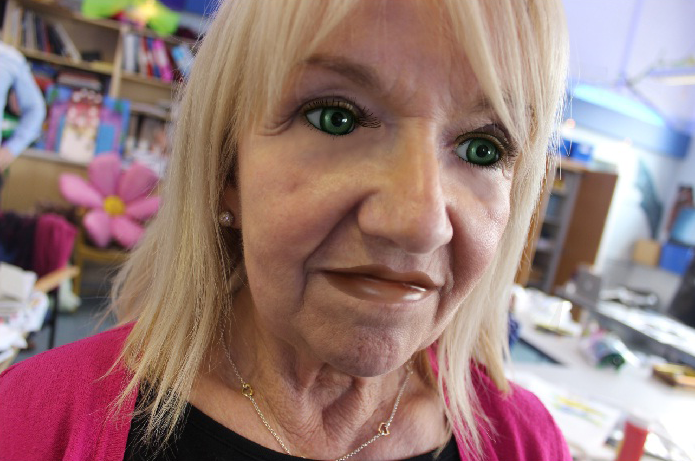
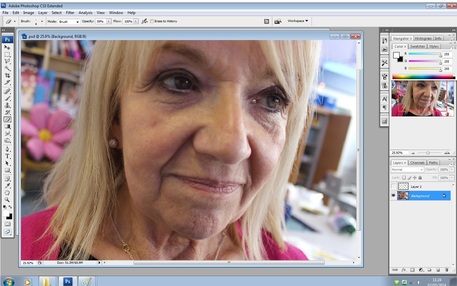
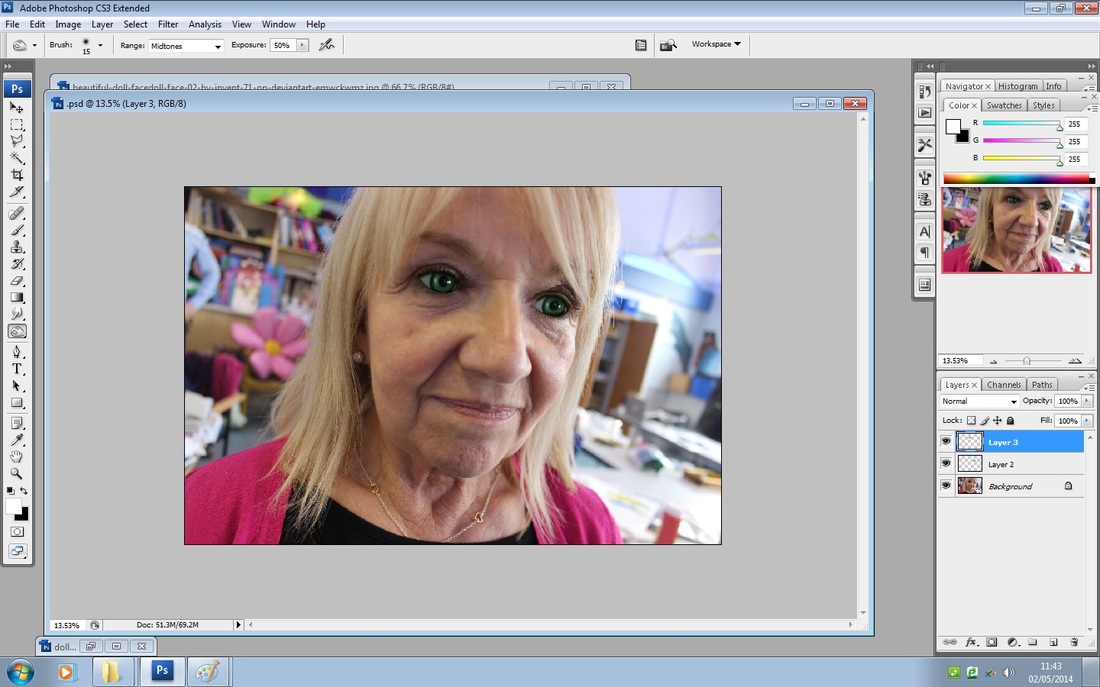
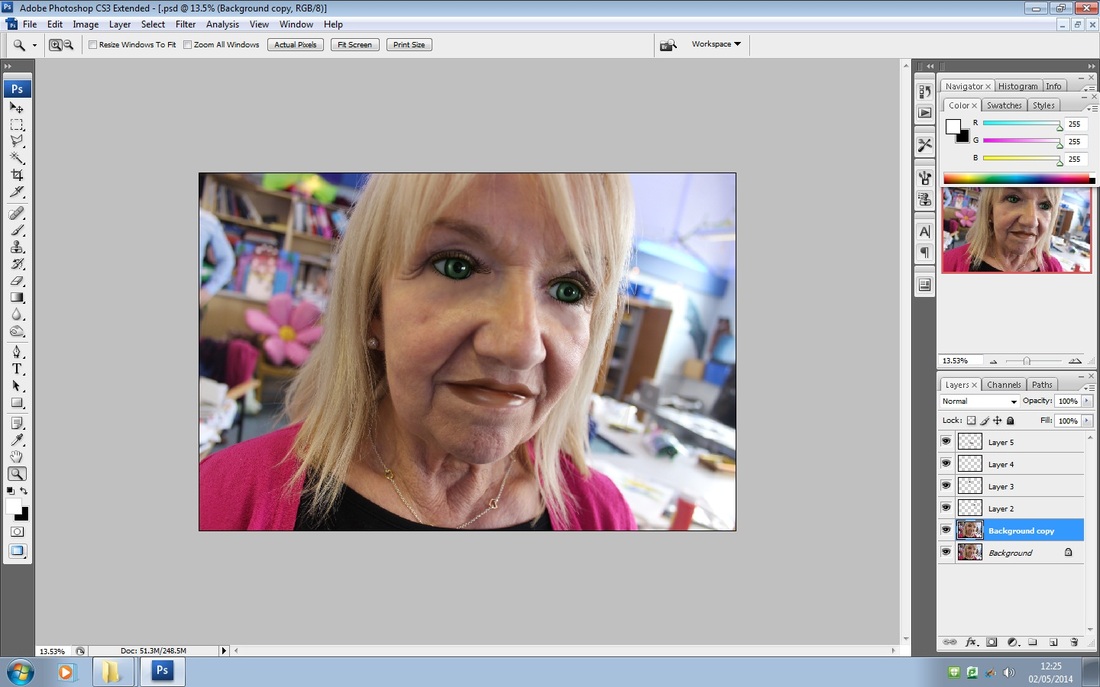
Here, I had taken a picture of my teacher. Again, no dolls were available so I had to get a picture of the internet. This photograph is supposed to be a 'doll disguised as a human'.
Firstly, I put the the picture of Mrs Saxton onto photo-shop. I then added the picture of the doll on a new layer. I cut out the irrelevant parts of the picture. I put the right eye on first. I erased the eyelashes slightly to make it more realistic. I rotated the eye to make it fit into shape more. After this, I added another layer and did the left eye. I re-did the process of the previous eye. After this, I added another layer to create the lips. I cut out the parts that I did not need and I re-sized and rotated the lips. I then erased the outer parts of the lips to create a more real look.
Firstly, I put the the picture of Mrs Saxton onto photo-shop. I then added the picture of the doll on a new layer. I cut out the irrelevant parts of the picture. I put the right eye on first. I erased the eyelashes slightly to make it more realistic. I rotated the eye to make it fit into shape more. After this, I added another layer and did the left eye. I re-did the process of the previous eye. After this, I added another layer to create the lips. I cut out the parts that I did not need and I re-sized and rotated the lips. I then erased the outer parts of the lips to create a more real look.
Final Piece.
|
|
|

|
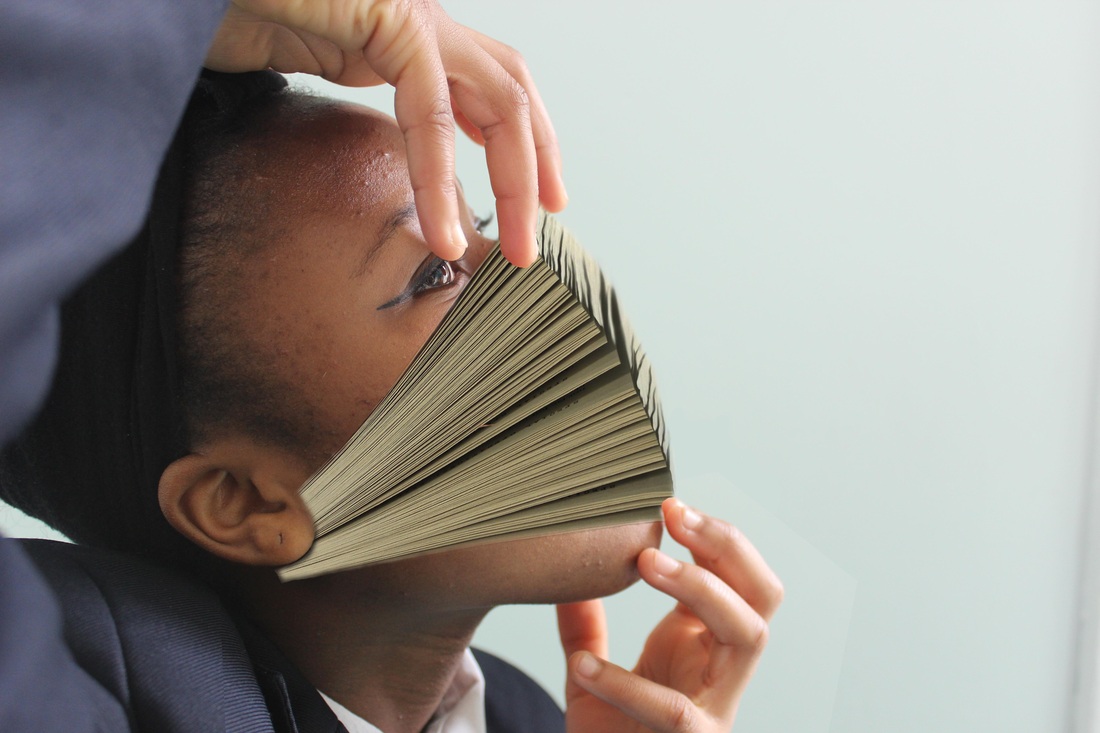
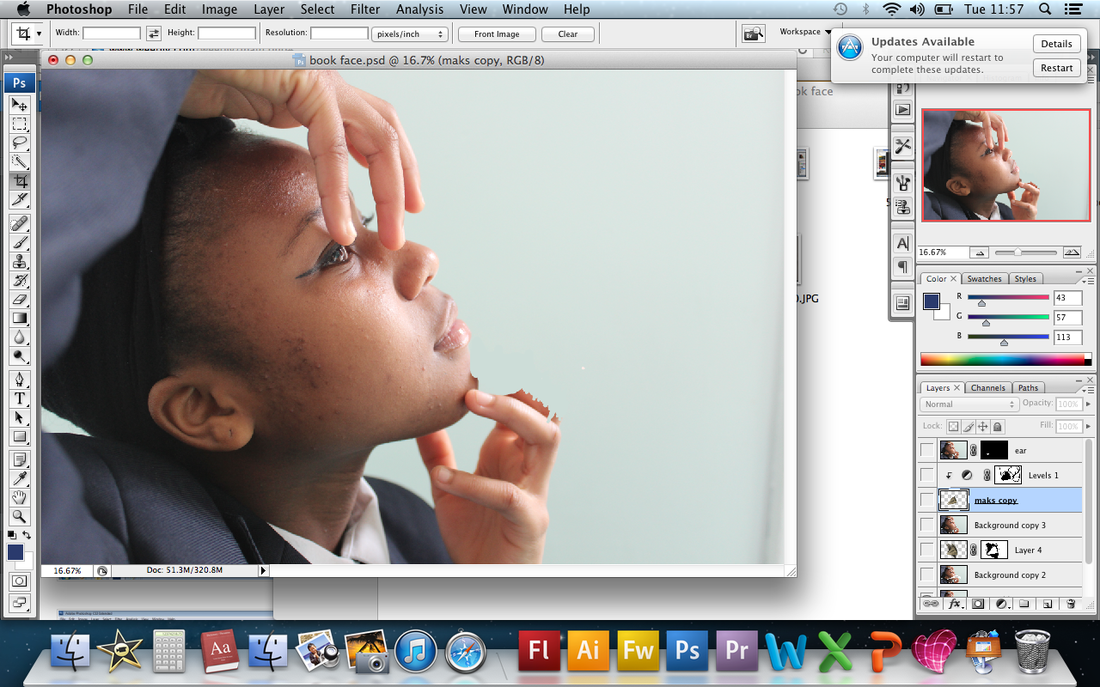
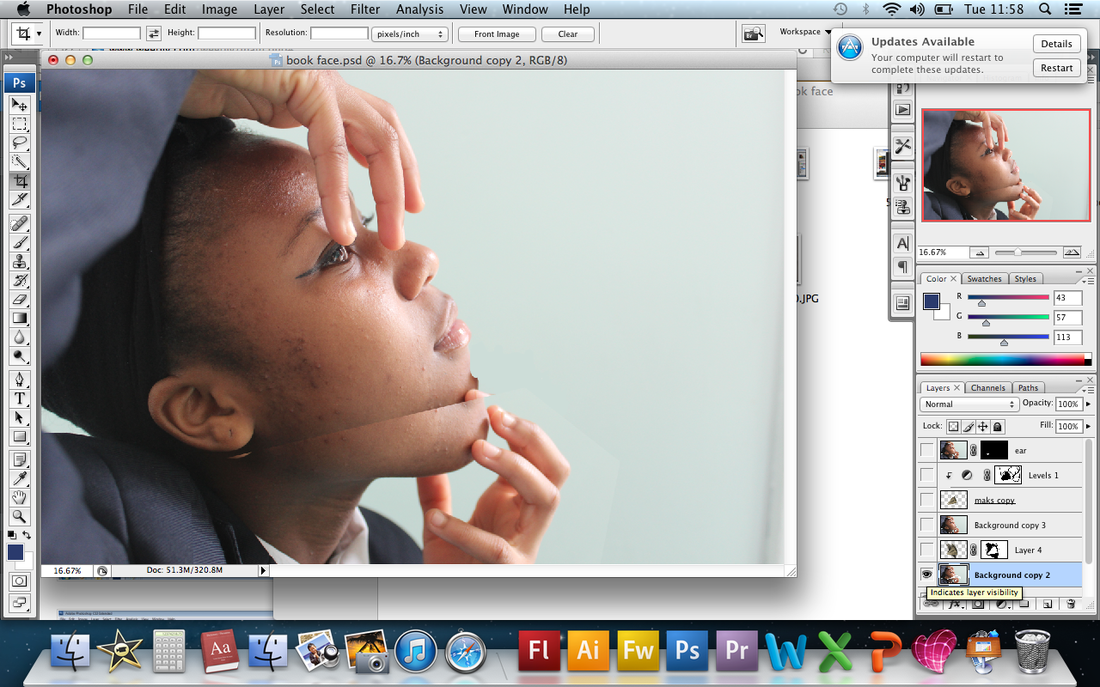
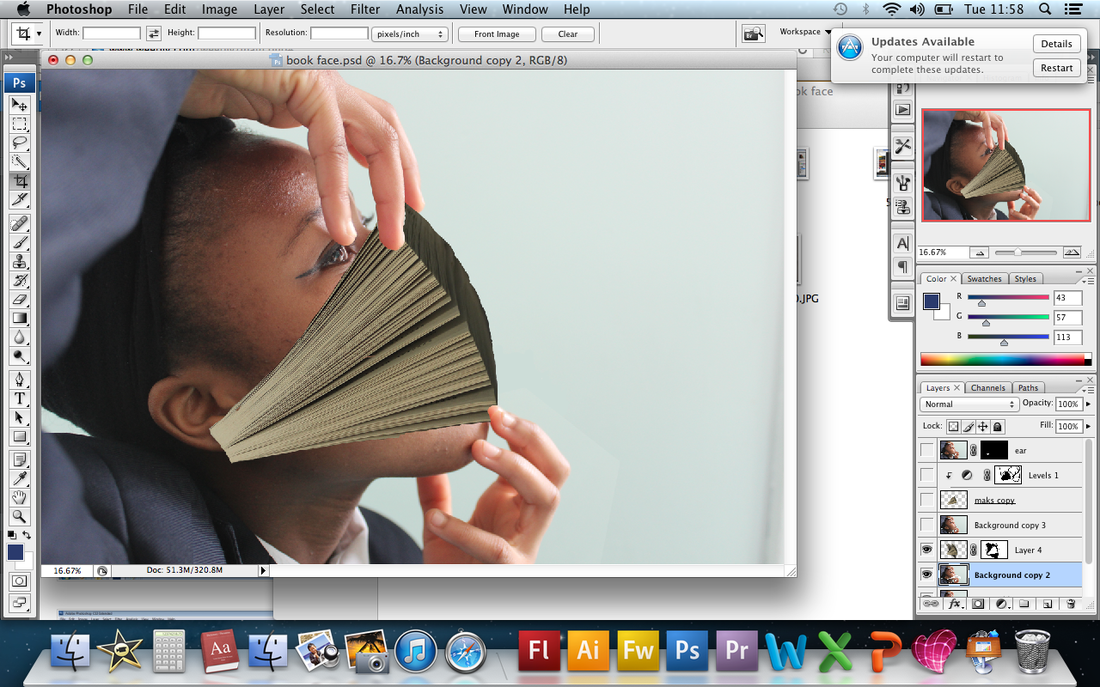
Here I had taken another picture of Shupi, as well as a picture of a book. I wanted to create a picture which shows your skin is a design for the pages inside which make you, you.
Firstly, I uploaded the picture of Shupi onto photo-shop. Then, I uploaded a new layer to add on the book. After this, I copied the background to make her jaw drop slightly lower. I used the mask tool to do so. Also, I copied another layer of the book over the top. With this book, I changed the auto levels to make the light look like it is hitting the book in the same direction it is hitting Shupi. Finally, I used the blur tool to blur the shadows and drag them onto different parts of the book.
Firstly, I uploaded the picture of Shupi onto photo-shop. Then, I uploaded a new layer to add on the book. After this, I copied the background to make her jaw drop slightly lower. I used the mask tool to do so. Also, I copied another layer of the book over the top. With this book, I changed the auto levels to make the light look like it is hitting the book in the same direction it is hitting Shupi. Finally, I used the blur tool to blur the shadows and drag them onto different parts of the book.